Code Chunks
Along with navigating by headings, we can also navigate by code chunks. Within the navigation tab you will probably see all the code chunks listed “Chunk 1”, “Chunk 2”, “Chunk 3” etc. To make this easier, we can actually name our chunks to help with this navigation.
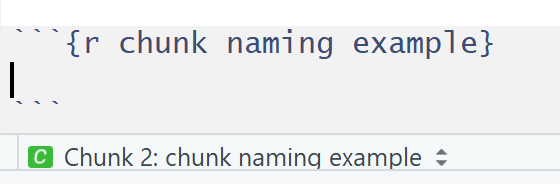
This is done by writing the name we want for our chunk directly after the r within our wing brackets { }, like so: {r chunk name}. This will display this in the navigation tab, along with just making it easier to see what the chunk might be for.
In addition to this, we can also use “headings” in our coding chunks to help organise sections of chunks. This is done by placing anything inside four hashtags. e.g. #### ANOVA ####. Once you place 4 on either side of something inside a chunk, it will appear in the navigation tab. Personally, I dont use this, but I will use hashtag like headings or a row of -’s to separate parts of code.
#### Data Modification ####

data <- read.csv("filename.csv")

#### ANOVA ####

data_anova <- aov(something.important ~ something.else, data=data)

#### Linear Regression ####

data_lm <- lm(something.important ~ something.continuous, data=data)
The above example is incredibly over the top when it comes to headings and organising but it does assist in reading and following what the author has done.